A ¼-inch seam allowance is the distance between your stitching line and the raw edge of your fabric. Having an accurate seam allowance helps your fabric pieces come together as the pattern intends.
As a teacher and quilt pattern designer at Timeless Quilt Studio, I want you to understand both why it’s there and how it works.
What Is a ¼-Inch Seam?
You’ll often hear “¼-inch seam” used as a shorter way of saying “¼-inch seam allowance.”
To sew one:
Place two fabric pieces with their right sides together—the sides you want showing in your finished quilt.
Align the raw edges you’re joining.
Stitch ¼ inch in from the raw edge.
When you open the pieces, the right side of your fabric is joined together and the stitching and extra bit of fabric that makes the seam is behind.
Why is the size of the seam so important?
There are a few answers to this question.
The width of the seam is a universally accepted number. Almost every quilt pattern is written around that. There are always exceptions to that rule so you need to read through every pattern before you make it so you know what size seam allowance is expected.
The sizes you cut each piece of fabric before it is sewn into the quilt block account for the seam allowance.
If your seam allowance is:
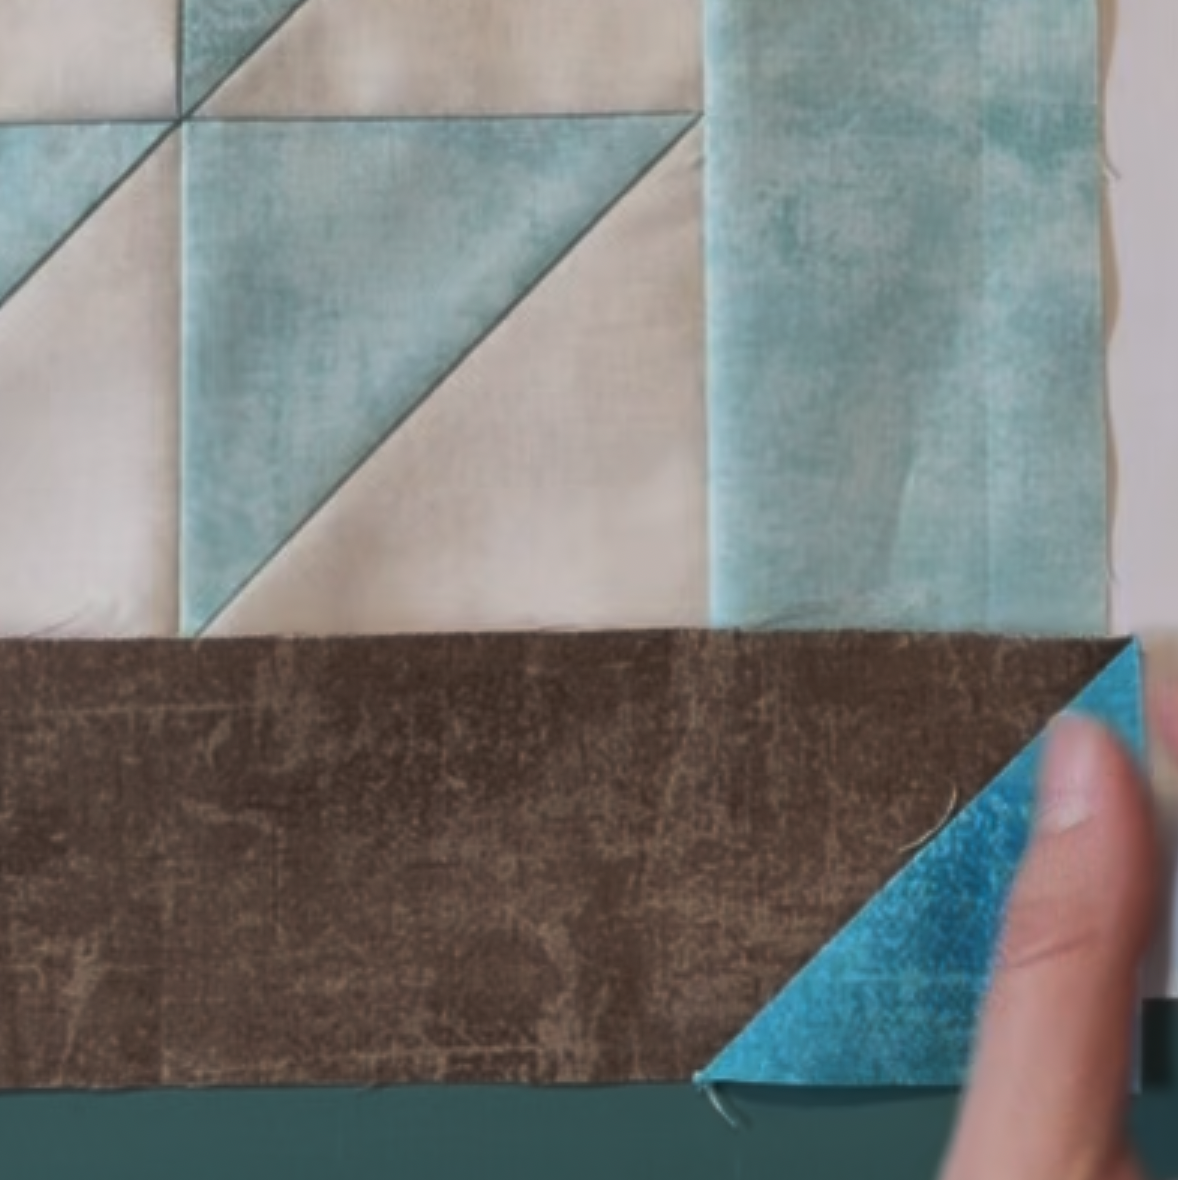
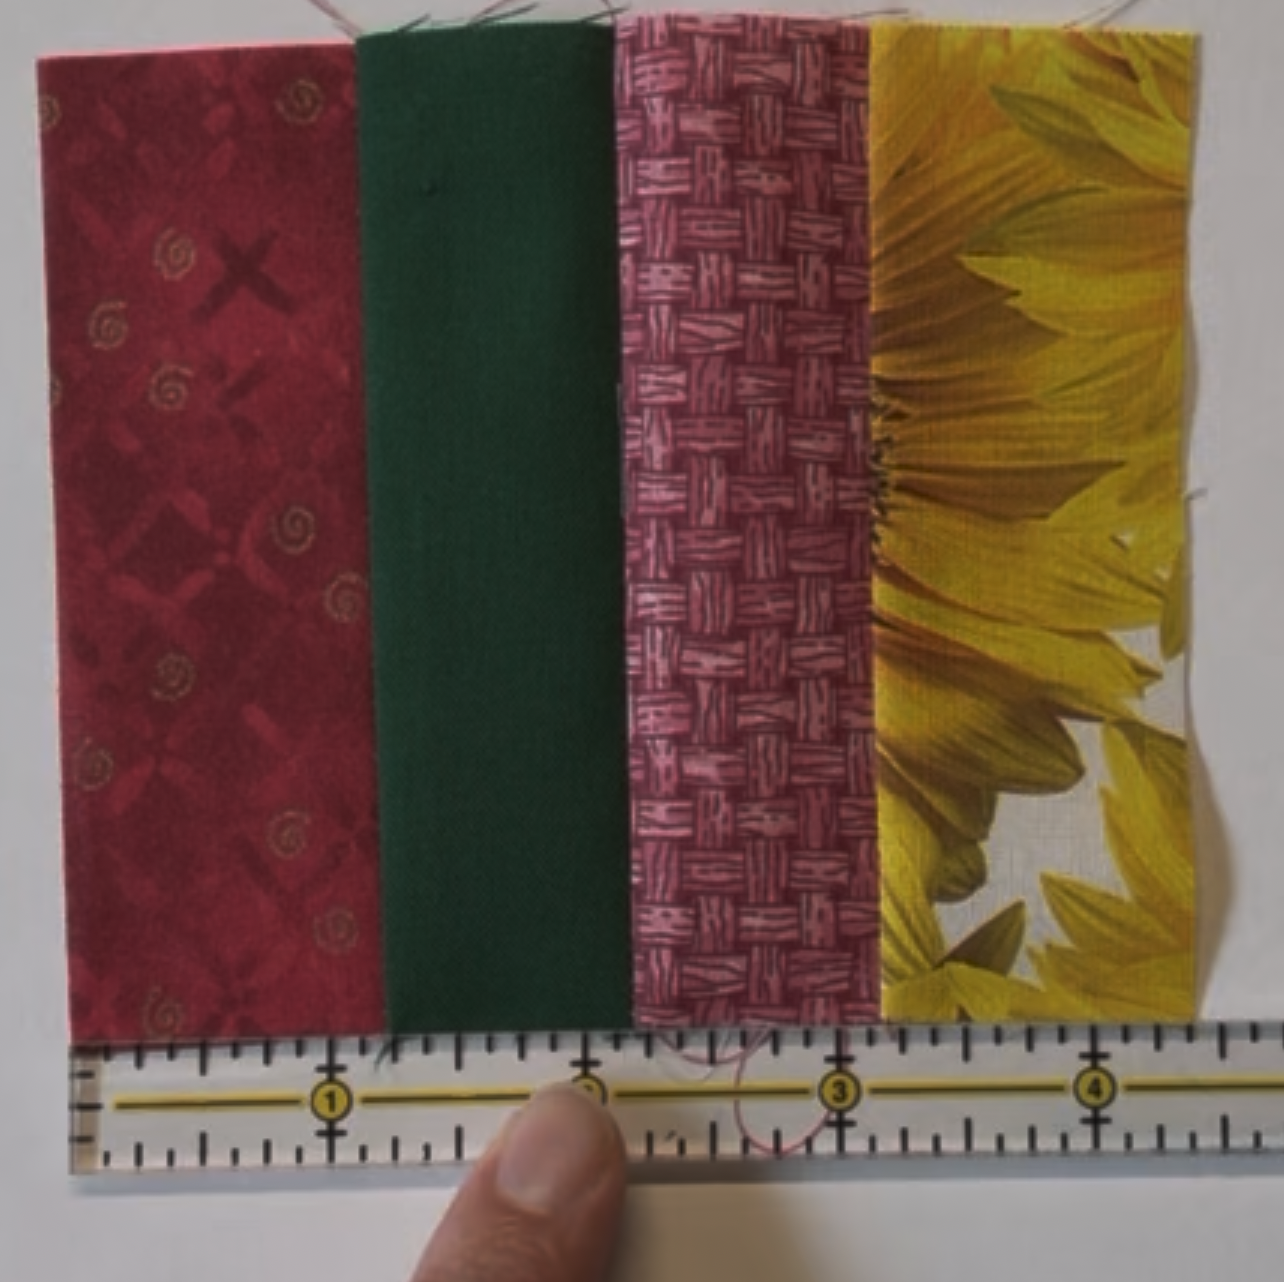
Too wide: Your unit becomes smaller and the next piece is now too big for the block.
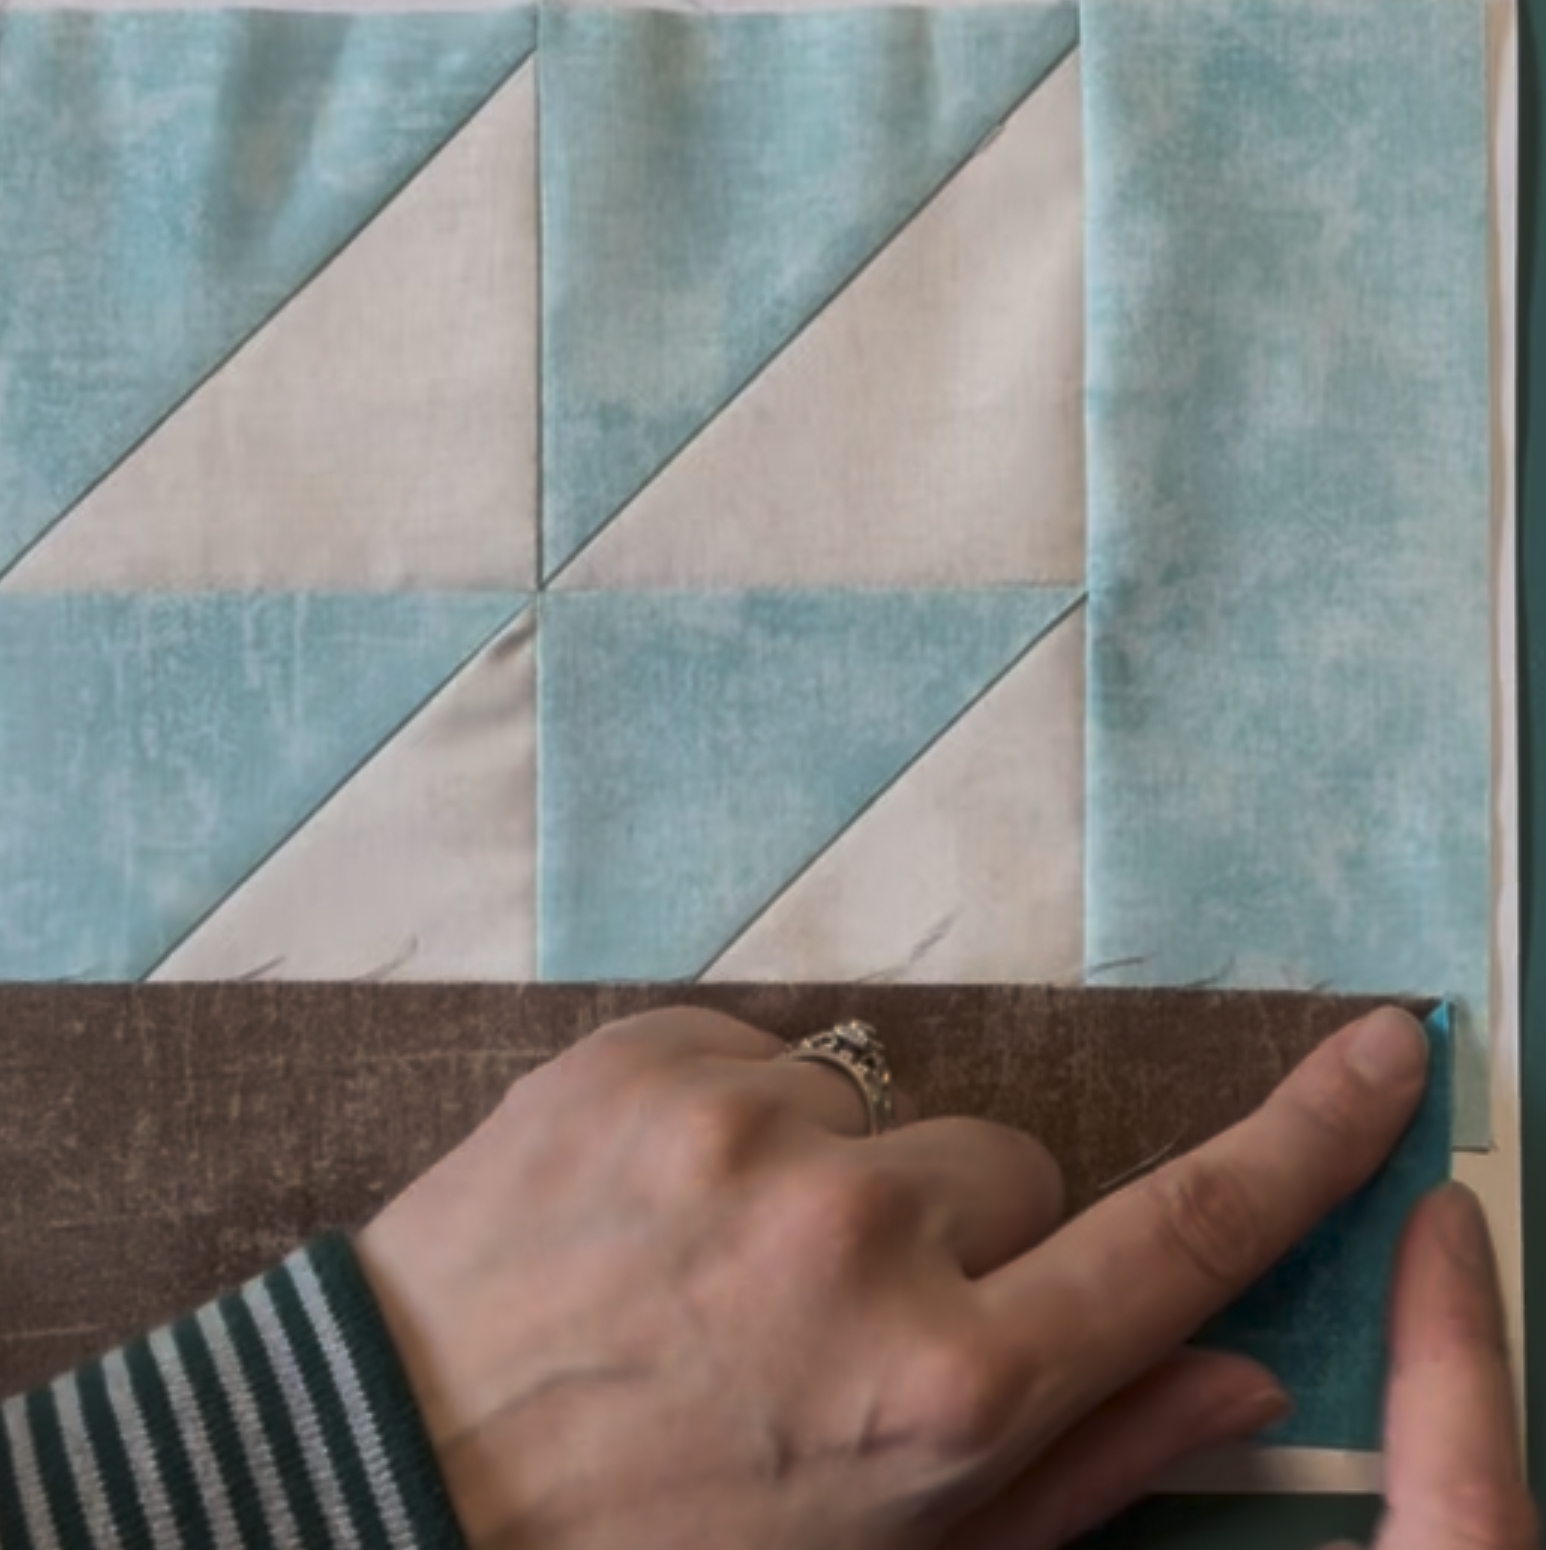
Too narrow: Your unit becomes larger and the next piece is now too small for the block.
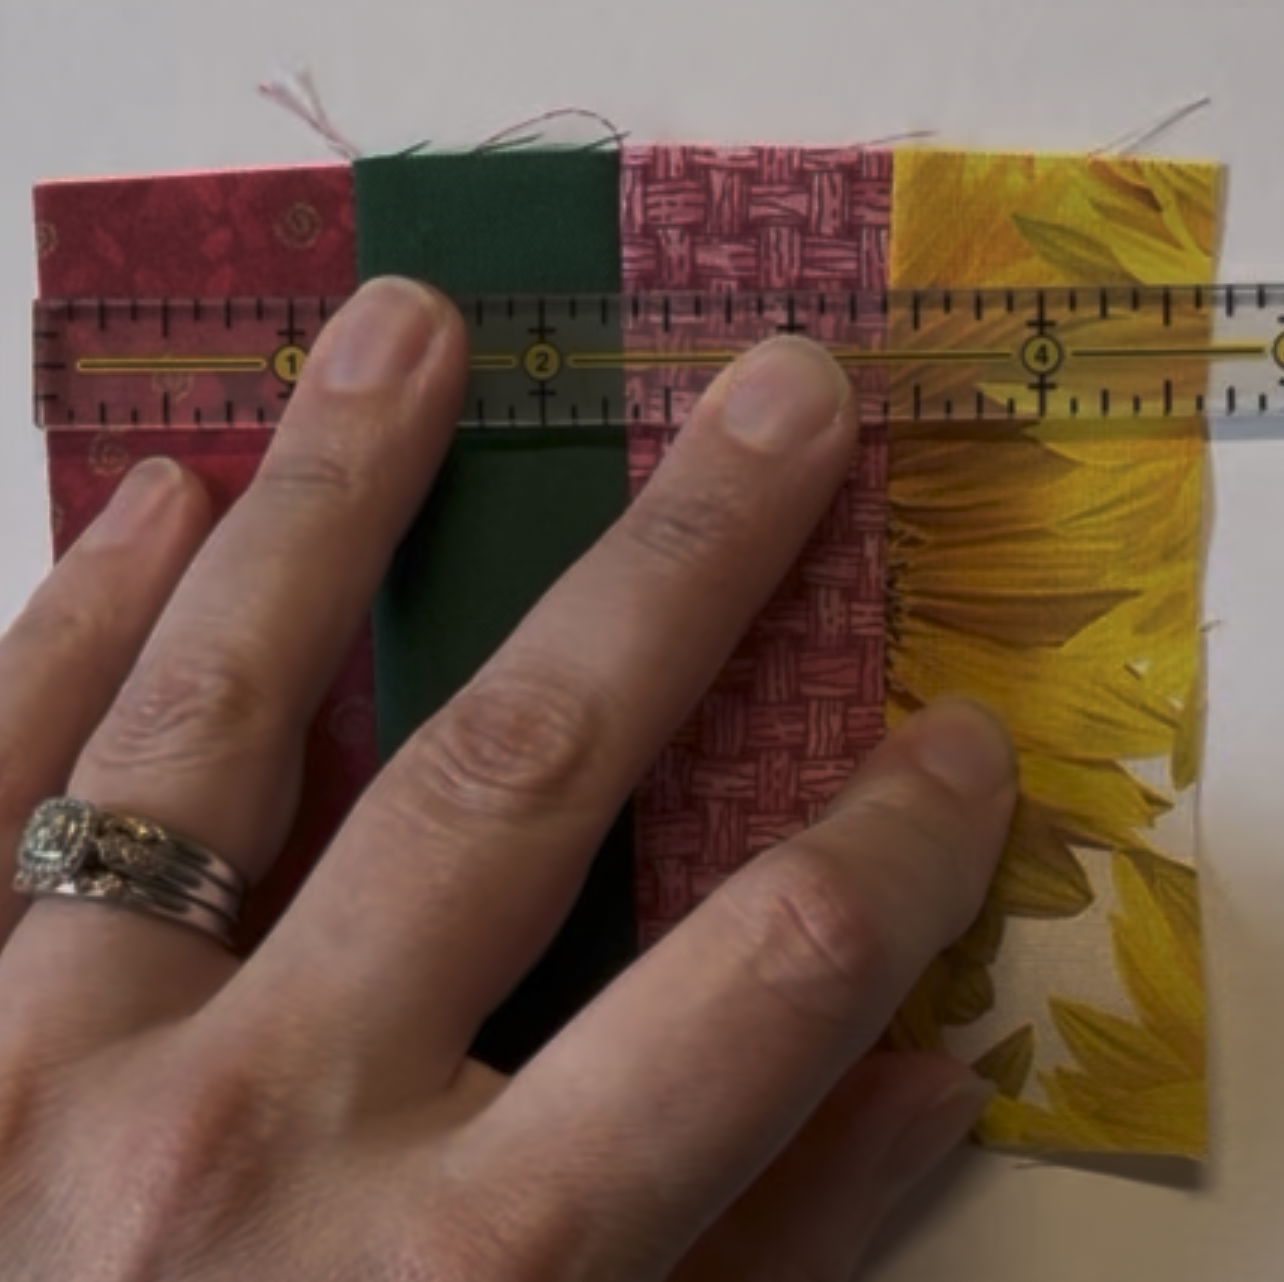
Uneven: Too narrow on one end and too wide at the other end, your unit will bow or arch and won’t be square.
Small differences add up across multiple seams. It is important to check each part of the block against the measurements provided in your pattern to help you catch any issues with the seams early.
The photos below show examples of each seam issue.
Quilt Math Crash Course - Yes, it is relevant to seam allowances!
Perhaps you’ve heard the term quilt math or maybe you’ve wondered why all those fabric sizes don’t add up to the finished size of the block. Let’s take a quick look at quilt math and a couple other terms that are often seen in patterns.
Quilt Math takes seams allowances into account.
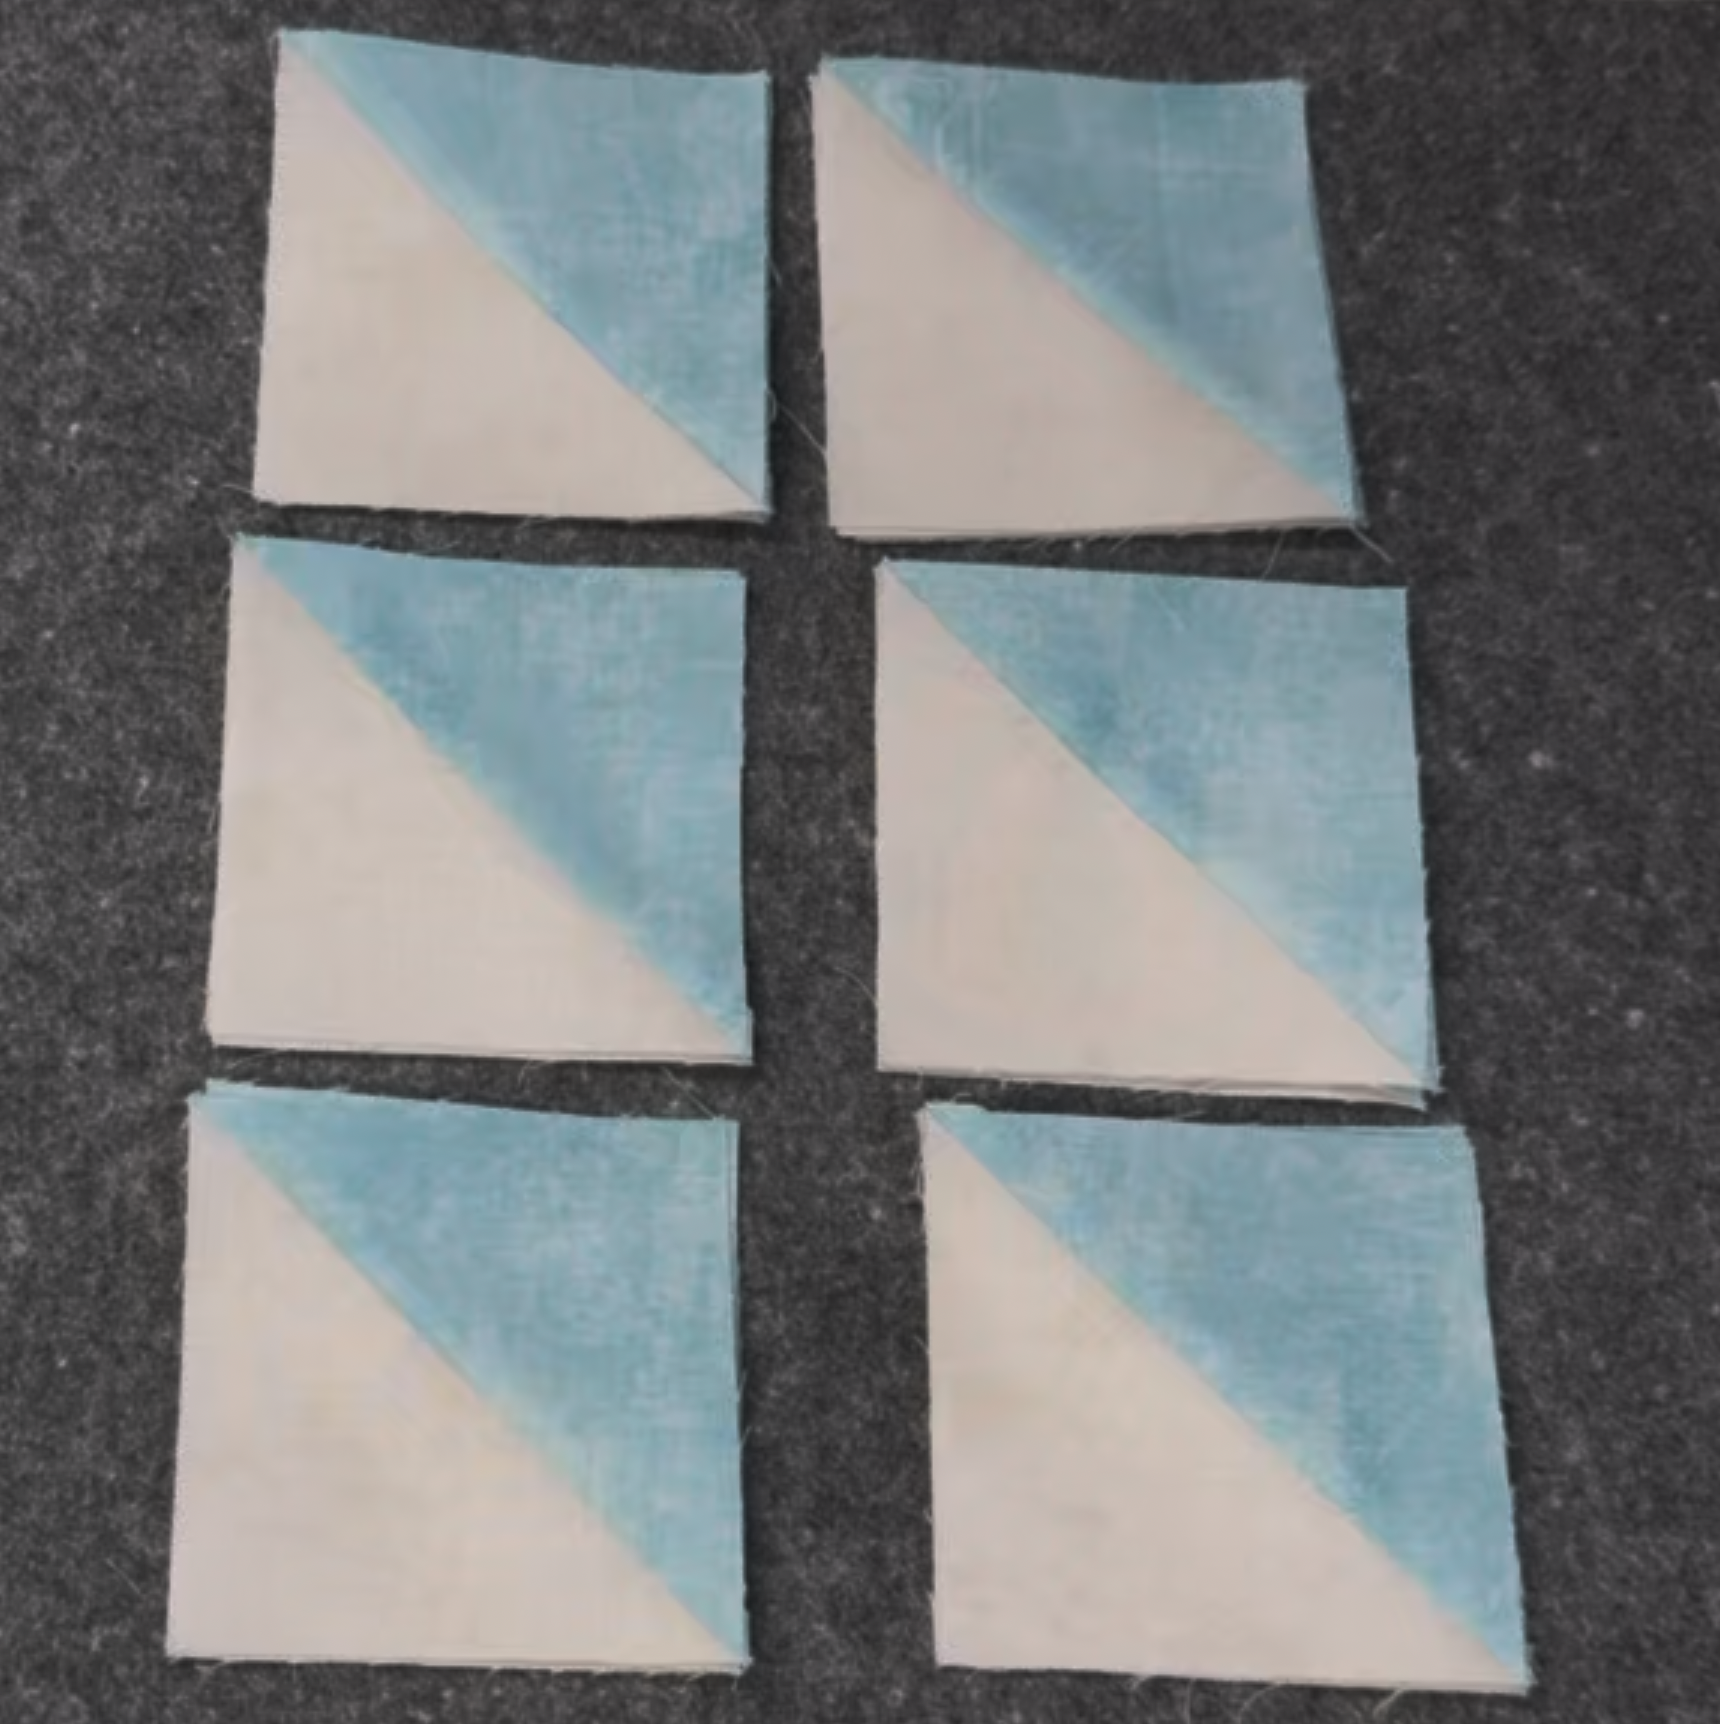
5” square + 5” square does not equal a 5” x 10” rectangle in quilting.
Each fabric square loses a ¼” to the seam allowance. The fastest way to do the math is to combine the two ¼” seam allowances into ½” to get your total fabric loss.
Add your two fabric sizes together and subtract a ½” inch. This tells you what size your piece should be after you’ve sewn it.
5” square + 5” square equals a 5” x 9½” rectangle.
In reverse, if you are trying to figure out how big you need to cut a piece of fabric, know how big it is supposed to be when it’s sewn into the block and add ½” to get your cutting size.
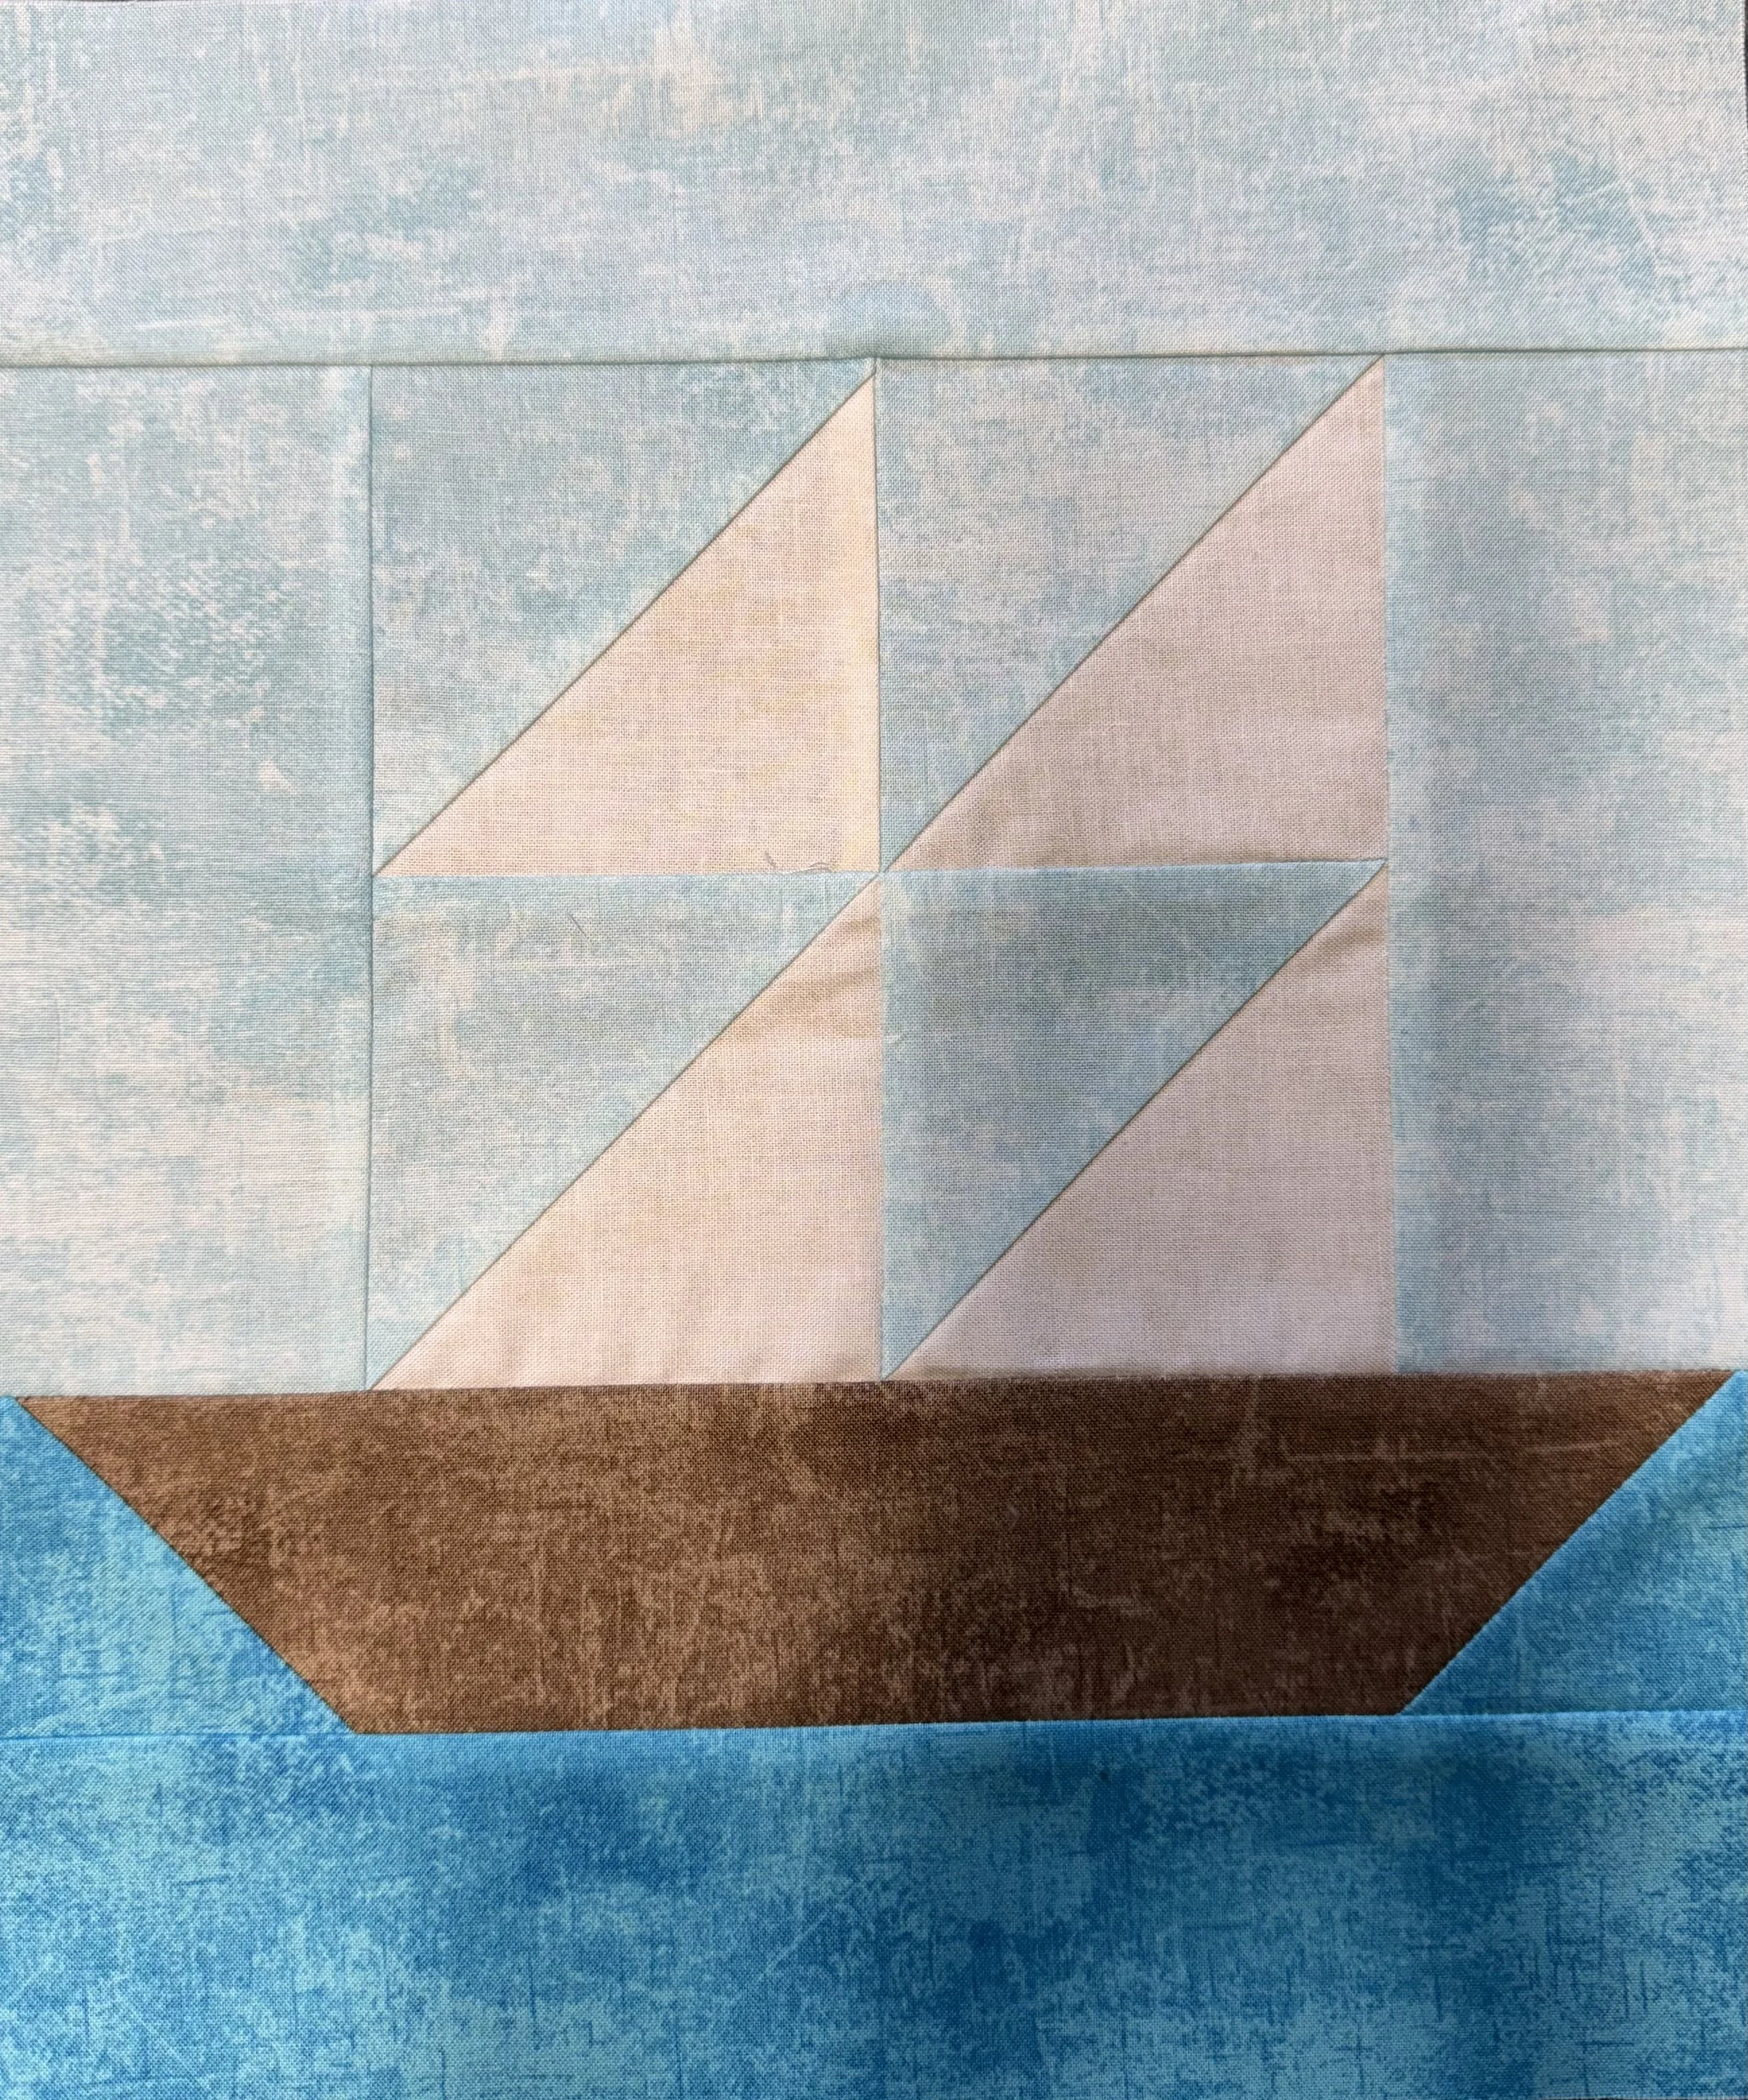
Want the fabric to be 4” x 4” in the block, add ½” and cut it at 4 ½” x 4 ½”
Remember that each side of the block is going to lose ¼” to the seam, when you add the ¼” from the top and bottom, you will need a total of ½” larger for the height and when you add the ¼” from each side, you will need a total of ½” larger for the width.
The terms: Finished vs. Unfinished. These are the two most confusing words in quilting.
Finished: The size of the block when it is fully sewn into the quilt. Or the size of the unit (a smaller part of a block) when it is fully sewn into the block. There is a seam on all sides, the finished block or unit has no raw edges exposed.
Unfinished: The size of the block or unit right after you have sewn it. The unfinished block has not been sewn into anything yet and that bit of extra fabric that will go into the next seam is adding to it’s size.
A finished block is going to be a ½” smaller than the unfinished block.
How Do You Find ¼ Inch on Your Sewing Machine?
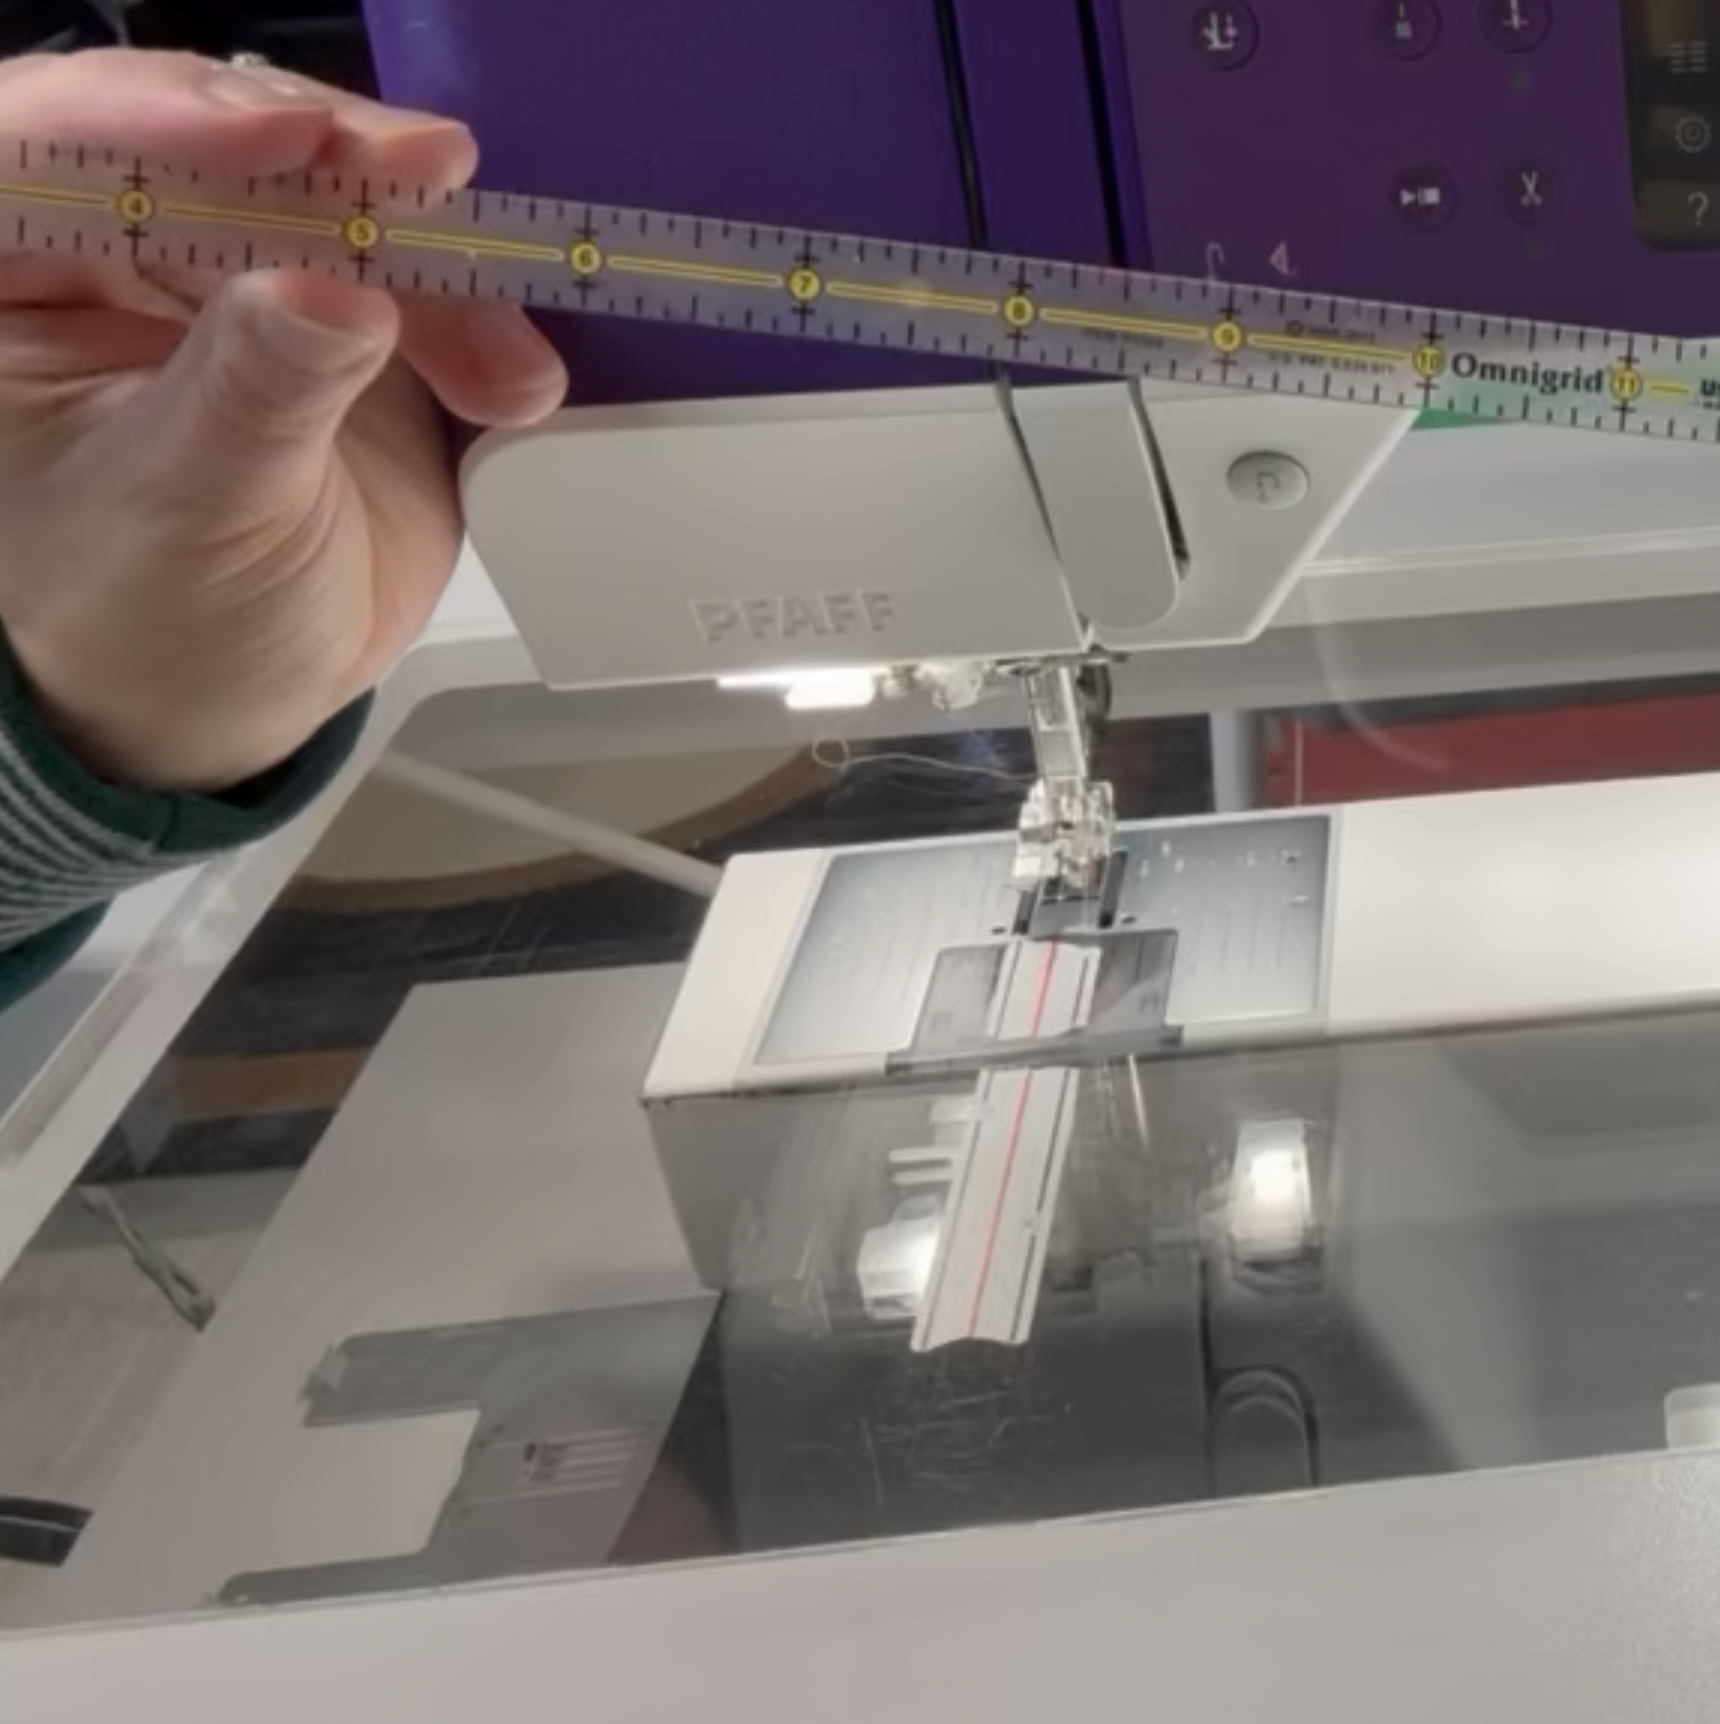
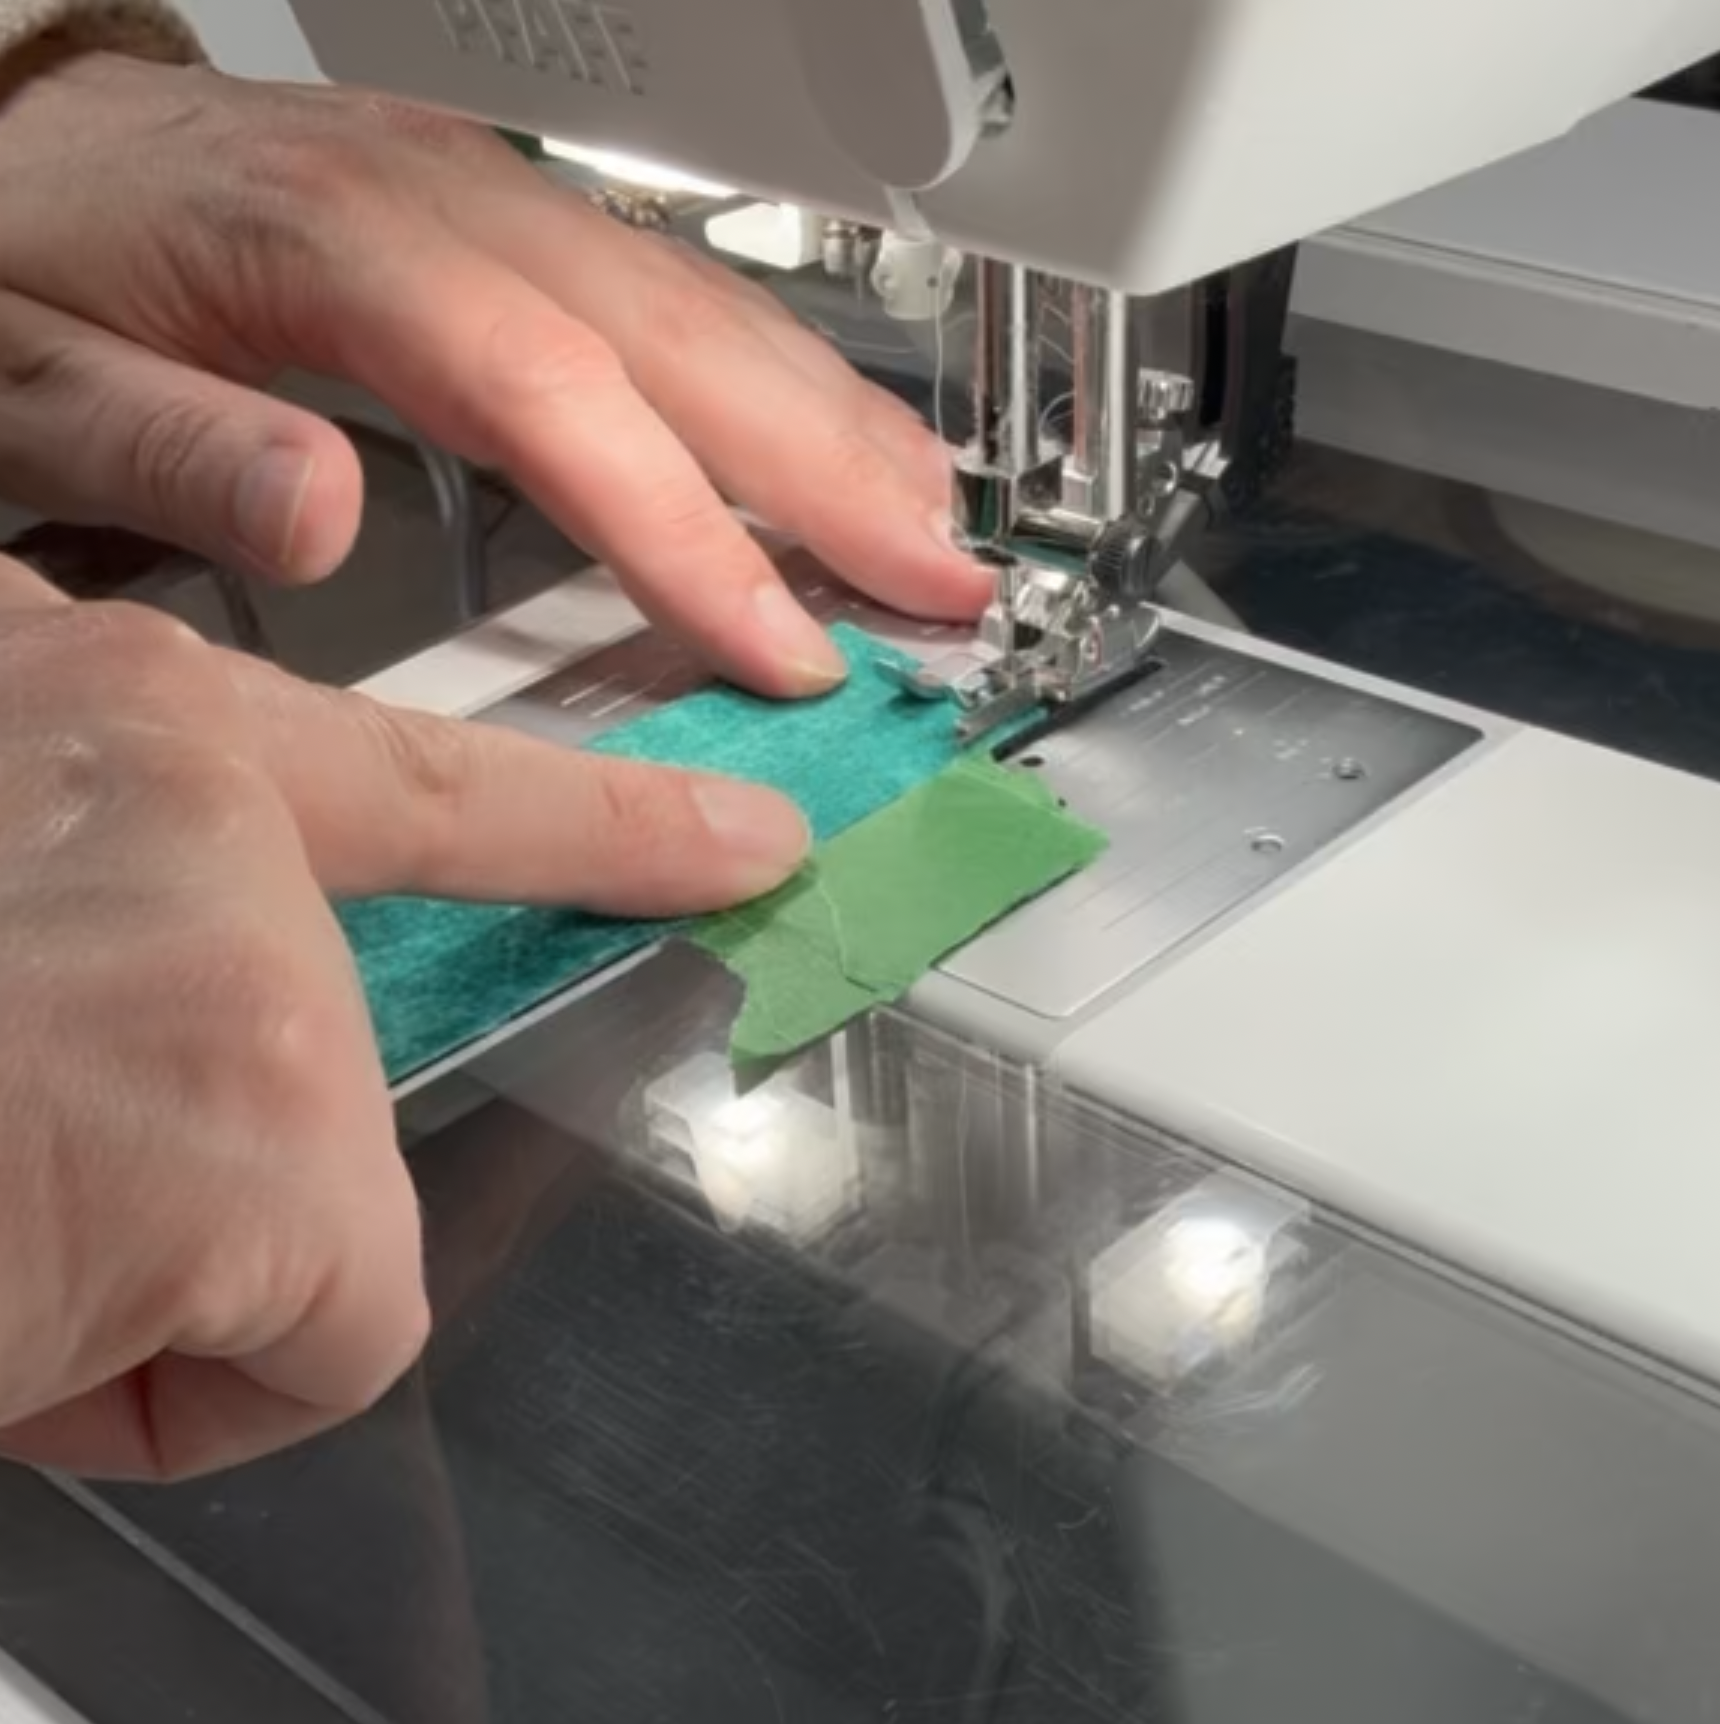
Start by deciding what is going to guide your ¼” seam. Is it a ¼” presser foot, seam guide tape or a little stack of painters tape?
¼” presser foot - use it as intended to sew a seam. Use a ruler to measure your seam width. If it’s accurate, you are good to go. However, they are rarely accurate. The next thing to do is adjust your needle to the left or right until you get that seam allowance right. I have to move my needle to the left when using my ¼” foot.
Seam Guide Tape - this washi tape comes on a roll and has a red center line and two black lines on either side that are a ¼” away from the red center line. Lining this up straight can be tricky. Most tape will stay on for a good while so you don’t have to figure out how to align it very often.
A stack of painters tape - Measure a ¼” away from the needle, layer a few pieces of painters tape to create a raised edge that you can guide your fabric against while you sew.
What Is a Scant ¼-Inch Seam?
A scant ¼-inch seam is just slightly narrower than ¼ inch. “Scant” is a tiny adjustment, not a noticeably smaller allowance such as ⅛ inch.
When you press a seam to one side, a little fabric is taken up as it folds over the stitching. Fabric and thread thickness affect this, so a slightly narrower allowance can help your pressed unit reach its intended size.
Follow your pattern’s guidance. If your units already measure correctly, do not change what you are doing simply because you’ve heard the word “scant.”
What Helps You Sew a Consistent Seam?
Once you find a method that works for you, keep on doing it. Sometimes that method will evolve over time and that is okay. We all do things a little different and figuring out what works well for you is the most important thing.
Here is a quick list of things to keep an eye on that can impact the size of your piecing.
Cut your fabric consistently
Check your seam allowance from time to time
Measure each unit and block
Press well
Want more details on how to improve accuracy? Check out the Precision Without Pressure blog post.
Does Every Seam Need to Be Perfect?
No! Never aim for perfection, aim for better if that is what you need and then aim for consistency.
I don’t know a single quilter who sews every seam straight and accurately 100% of the time.
Learn to Quilt: Foundations
For step-by-step guidance, Learn to Quilt: Foundations introduces quilting skills through folded coasters, nine-patch hot pads, and a three-in-a-row game board.
Video lessons and printable patterns help you practise through small, useful projects and carry those skills into future quilts.
About the Author
Krista Russell is the quilt pattern designer, longarm quilter, and teacher behind Timeless Quilt Studio in La Ronge, Saskatchewan, Canada. Quilting since 2021, she draws on her Bachelor of Education and approximately 15 years of teaching experience to help beginners build skills and confidence.